Why This Shungite EMF Test Gave False Results — and How to Test Properly
Share
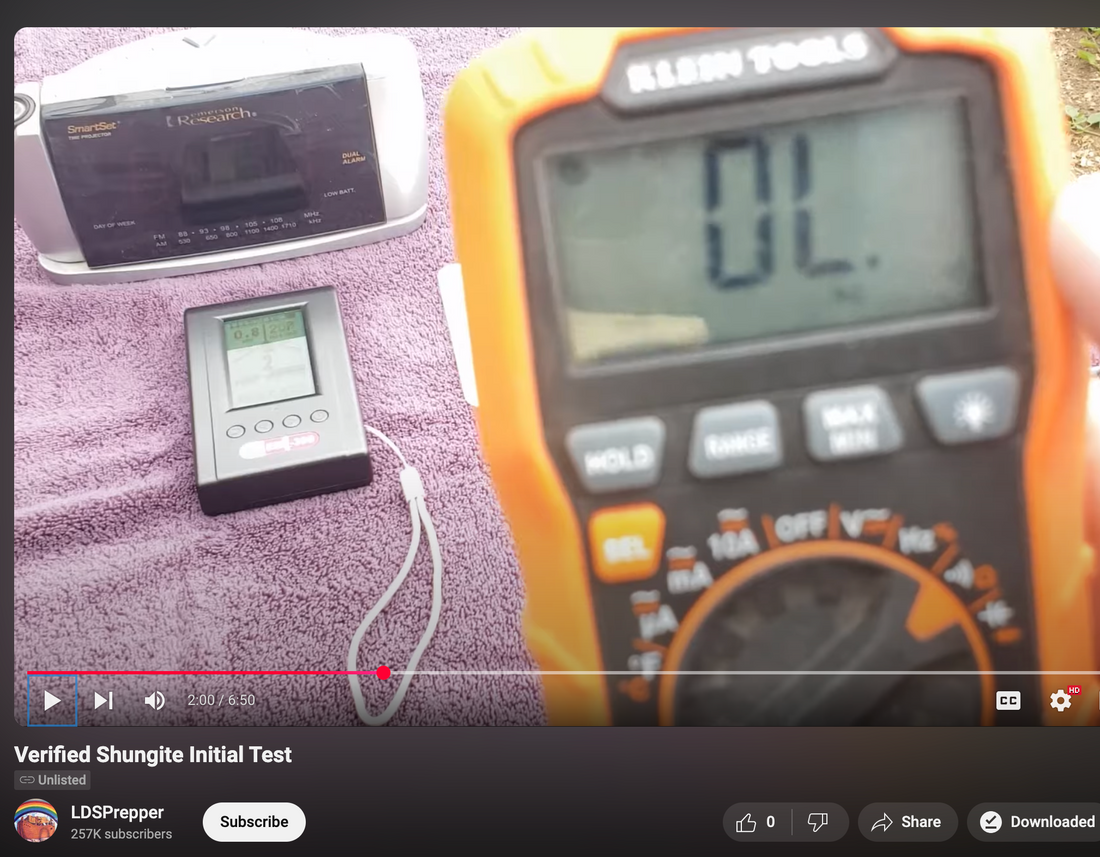
Every now and then, someone posts a video testing Shungite for its EMF shielding or electrical conductivity and concludes that it "doesn't work." Recently, one gentleman uploaded a video of his own experiment using an EMF meter and a resistance multimeter, and he couldn't replicate the results I routinely demonstrate. While I appreciate the effort, there were several critical issues in his setup that likely skewed his results.
Here’s a breakdown of where things may have gone wrong—and how to properly run these tests for accurate results.
1. Ensure an EMF-free Environment
In his video, the test was conducted in a detached outbuilding with visible electrical equipment running in the background. That environment is flooded with EMFs by default. It's not enough to step away from a Wi-Fi router—everything emitting EMFs must be turned off at the breaker panel to isolate the test zone.
All of the testing that I do is in the Shungite Warehouse, where the testing table is surrounded by Shungite, and tests EMF-free.
2. Put Your Recording Phone in Airplane Mode
Your phone is a transmitter. Even when it’s just sitting there, it’s periodically sending out signals unless it’s in Airplane Mode with Wi-Fi and Bluetooth off. In his setup, the phone being used to film was almost certainly joining the EMF chatter and contaminating the readings. I’ve seen several people fail EMF tests simply because their phones were unintentionally emitting signal.
3. Calibrate Your EMF Meter First
Before taking any reading, you need to calibrate your EMF meter. I use a GQ EMF-390 (an older model) which has a “Zero EMF Calibration” function that filters out background radiation and gives a proper baseline. Newer models apparently don’t include this function anymore.
I looked into it and asked ChatGPT, which confirmed:
“Yes, your GQ EMF-390, being six years old, likely includes the 'Zero EMF Calibration' function. In newer models, this feature has been removed and replaced with an 'EMF Factor' adjustment. According to a representative from GQ Electronics, the zero EMF calibration was removed and changed to EMF Factor. The 'EMF Factor' allows users to adjust EMF readings by applying a multiplication factor, effectively calibrating the device without the previous zero calibration process. For instance, setting the EMF Factor to 200% would double the EMF readings. The default setting is 100%.”
However, let’s be clear — the EMF Factor is not true calibration. It assumes you already know the correct baseline and simply want to multiply your results accordingly. But in most environments, EMF fluctuates constantly, and without a way to zero out the ambient noise, any readings you get could be inaccurate. So, while the EMF Factor changes the output, it doesn’t actually calibrate the meter.
4. Signal Strength Matters – Set Your Network Properly
If your meter only goes up to 2.5 GHz (like mine does), then your phone must be set to LTE or 4G. If you’re testing against 5G or Wi-Fi 6, your meter won’t even register it—it’ll look like nothing’s happening. You want the phone to be actively transmitting during the test, not sitting idle.
In my response video, I stream his actual video online over 4G while conducting the test. I also plug the phone in to ensure strong and continuous signal strength. This ensures the meter is actually reading a live, sustained signal source, which is essential for seeing attenuation.
5. Multimeter Use – Adjust Your Sensitivity Threshold
The other part of his test used a resistance multimeter to see if the Shungite was conductive. He found no conductivity, but here’s why: the sensitivity threshold wasn’t configured properly.
If you’ve ever used electrical testing equipment in a noisy environment, you’ll know that ambient interference can make it harder to detect precise readings. EMF testing has the same issue — there's too much background noise unless your meter is tuned correctly to detect low resistances.
Here’s how to do it right:
- Set the Ohm range to the lowest setting (e.g., 200Ω) to detect low resistances accurately.
- Touch the probes together to confirm the baseline resistance (it should be close to 0Ω, accounting for the leads).
- Then touch both probes to the Shungite sample.
If the meter reads 0Ω or close, the material is conductive. But if the sensitivity setting isn’t configured or the range is too high, it won’t register even if the material is conductive.
6. Outdoor Testing Doesn’t Guarantee Isolation
There’s a misconception that going outdoors helps isolate EMF sources. In truth, if you can make a phone call or get a data signal, you’re in an EMF field. So, being outside doesn’t automatically mean clean results. That’s why turning off the source devices and calibrating your meters is non-negotiable for getting an accurate reading.
Final Note
I sell Shungite—not meters—and I unfortunately can’t provide technical support for the thousands of EMF meters and multimeters out there, or the endless variables in testing conditions.
Here is his video, and my response:
Verified Shungite is real, authentic, and certified. Every piece we sell is tested, weighed, and photographed to guarantee that what you receive is of the highest purity and quality.


