How To Calibrate a Tri-field EMF/EF/RF Meter
Share
If you're interested in testing conductive materials or measuring radiation levels, this video will guide you through selecting the right meter and setting it up correctly. I’ve been fascinated by radiation meters for years, so I decided to get one myself and thoroughly study the owner's manual to understand how it worked.
Note: This information has been updated - see the new blog post here.
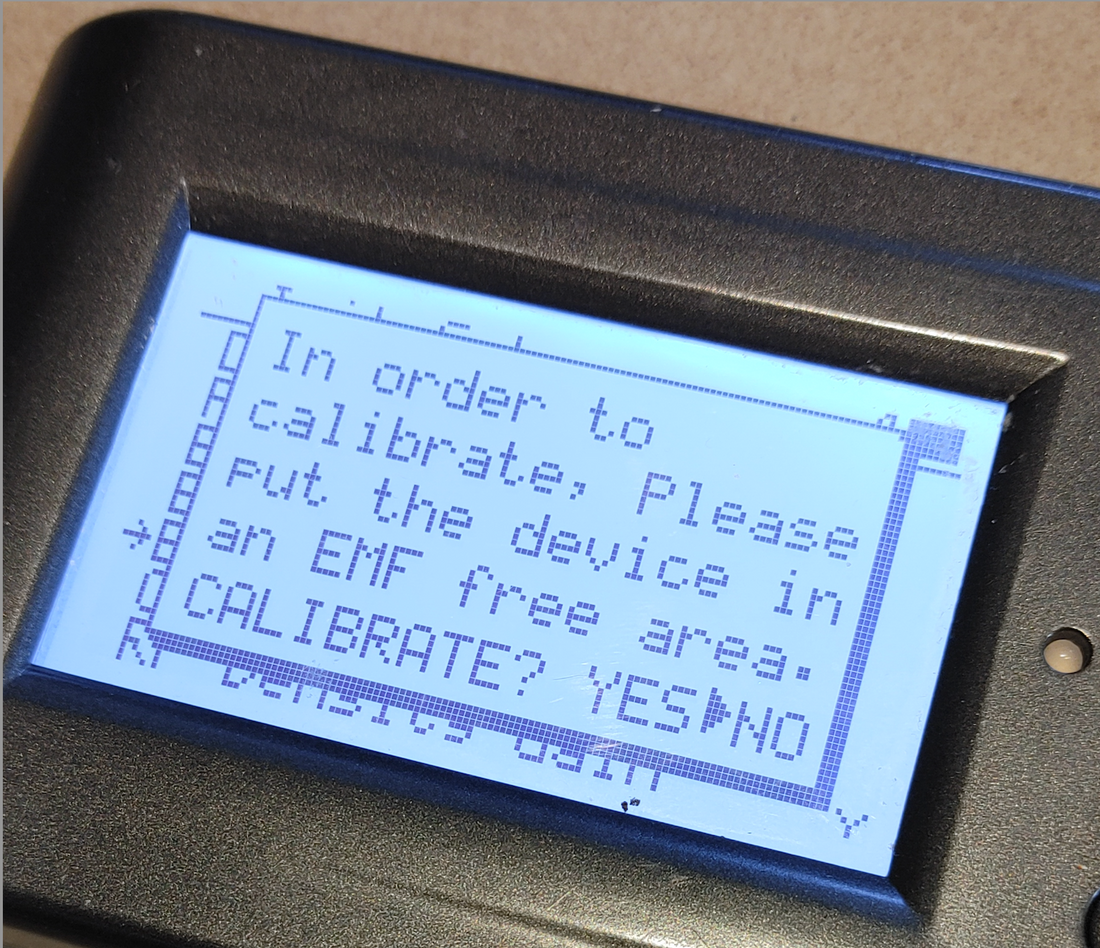
I use a GQ-310 Meter, which I bought about six years ago. It’s a solid, reliable model that includes a calibration function—something that newer models no longer have. Unless you find one that calibrates, you might as well not attempt it, because the readings will be off. Without calibration, the meter can't account for background electromagnetic noise and environmental interference, which means you’ll end up with inaccurate or fluctuating results. It’s like trying to measure a quiet sound in a noisy room—you need to silence the background first to get a clear and accurate reading. The current model is the GQ-390, available on AliBaba (see ad).

When tri-field meters became more accessible around 2017, thanks to advancements in miniaturization and mass production, I jumped at the opportunity to get one. I took it everywhere, recording radiation levels throughout Kelowna. During the pandemic lockdown, while 5G towers were being installed all over the city—often overnight—I logged some alarmingly high readings, up to 11,800 times higher than safe levels. The sudden rise in radiation levels coincided with a wave of illness and other issues, which raised a lot of questions. I encourage you to check out the video to see just how high the readings were.
As more people started using their own tri-field meters around town, I noticed that some of their readings didn’t make sense. Often, the issue was that their meters hadn’t been properly calibrated. Calibration is essential for getting reliable readings because it adjusts the meter to account for environmental electromagnetic noise and zero out background signals. Without proper calibration, the meter may display inaccurate or fluctuating results, making it impossible to determine whether changes in readings are due to actual EMF variations or just environmental interference. It’s like trying to measure a whisper in a noisy room—you need to silence the background first to get a clear reading. To achieve a noise-free environment for calibration, I usually test in my basement with all electronics turned off, including routers and other devices.
One of the best places to calibrate a meter is inside an unplugged microwave. Microwaves are designed to block radiation from escaping, making them an ideal flux-free environment. You can also use homemade Faraday cages, but be mindful of any unintended interference, like using a mobile device while filming, which can become a radiation source itself.
In my early meter testing, I was so frustrated because nothing seemed to work! No matter what I did—even after calibrating—I was getting absolutely no results when I tested. It drove me crazy trying to figure out why nothing was showing up on the meter. Eventually, I discovered the culprit: the mobile device I was filming with was giving off EMF—even in airplane mode!
That was a huge surprise, and it turns out that newer versions of airplane mode don’t actually block all radiation transmission. Many modern airplane modes still allow Wi-Fi, especially on planes equipped with in-flight Wi-Fi services. So even when you think your device is completely silent, it can still be transmitting signals that interfere with your meter readings.
That was a hard lesson learned. From that point on, I made sure to isolate my filming equipment far from the testing environment and double-check that no unexpected signals were sneaking into the measurements. It’s one of those things you’d never think to look for, but it makes a massive difference when you’re aiming for accurate and reliable readings.
One common issue I encounter with customers is the belief that their Shungite must be fake because their meter shows no reduction in radiation after placing the Shungite nearby. I can assure you that all our products come from a single, trusted mine, and we carefully test each piece for conductivity.
The problem usually lies in meter calibration rather than the Shungite itself.
Please understand that I no longer support meter calibration, as this is the intended role of the tech support resources of your electronics vendor. We provide rocks, not meters :) So any questions about meter malfunction will no longer be supported.
In this video, I’ll demonstrate how we machine Type 2 Shungite pieces for jewelry, cell plates, and other items, and I’ll also show how I ensure that everything we sell is properly tested. If you’re seeing inconsistent readings, it’s almost always due to the meter not being calibrated correctly, rather than an issue with the Shungite.
Understanding the science behind measuring radiation and conductivity can make a huge difference in your results, and I hope this video helps you get accurate and meaningful readings.


